Choosing the Perfect Reverse Osmosis System: Expert Recommendations

Choosing the Perfect Reverse Osmosis System: Expert Recommendations
Introduction
Most guides to choosing a reverse osmosis system start with the product. This one starts with the water. The right RO configuration depends far more on what is actually in your supply — and on what problem you are trying to solve — than on brand, stage count, or price, and a system that is ideal for one household can be poorly matched to the next.
This guide works through selection in the order that produces the best outcome: identify your water source, establish what contaminants are present from a proper test, match the system configuration to those contaminants, and only then narrow down to specific models. The underlying technology is explained separately in our overview of the reverse osmosis system, and the full range of equipment categories is covered under RO systems and buying guides.
Step 1: Start with a Water Test
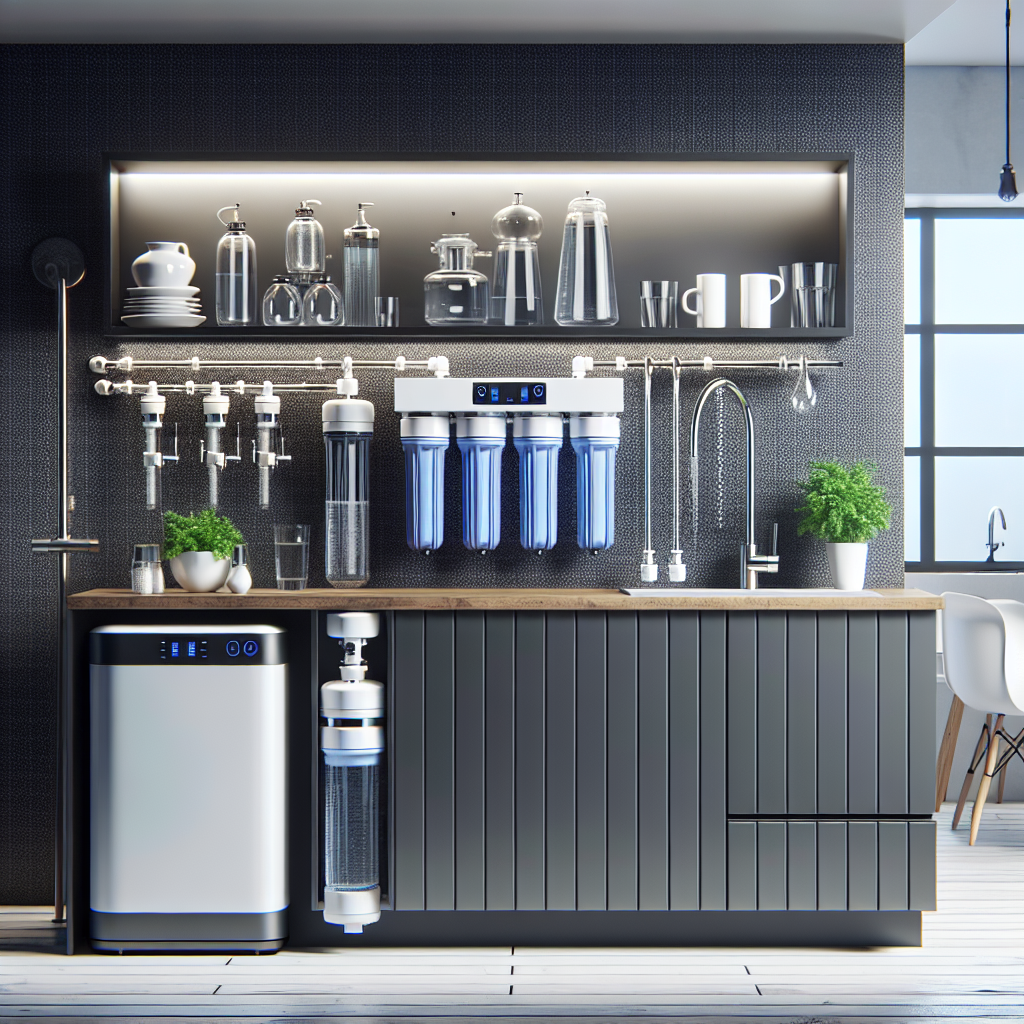
Choosing an RO system without testing is choosing blind. Municipal customers can start with their utility’s annual Consumer Confidence Report, which lists regulated contaminants detected in the supply, though it reflects the system as a whole rather than the water at your tap. Well owners have no such report and should commission an independent laboratory test from a state-certified laboratory.
A useful baseline test covers:
- Total dissolved solids (TDS) and hardness — which govern membrane scaling and system sizing
- Iron and manganese — which foul membranes and require pretreatment
- Chlorine or chloramine — which destroy thin-film composite membranes if not removed upstream
- Nitrate, arsenic, fluoride, and lead — common health-related drivers for installing RO
- Bacteria — essential for well water
- PFAS — increasingly relevant, particularly near military sites, airports, and industrial facilities
The results determine not just whether RO is appropriate, but what must go in front of it and behind it.
Step 2: Municipal or Well Water?
Municipal Supply
City water is already treated and disinfected, so the RO system’s job is typically to remove residual contaminants, improve taste, and address specific concerns such as lead from service lines or PFAS. The critical design point is disinfectant: most utilities use chlorine or chloramine, both of which damage RO membranes. Chlorine is readily removed by standard carbon prefilters. Chloramine requires catalytic carbon or extended carbon contact, and a system with ordinary carbon prefilters on a chloraminated supply will suffer premature membrane failure. Check which your utility uses before choosing prefilters.
Private Well
Well water brings different challenges. Hardness, iron, and manganese are common and may require a softener or iron filter ahead of the RO system. Well water is not disinfected, and while RO membranes reject most bacteria, an RO system is not designed or certified as a microbiological barrier — membrane imperfections, seal leaks, and bacterial growth in storage tanks all compromise it. Where bacteria are present, a UV disinfection stage is the appropriate addition. Low well pump pressure is also common; RO output falls sharply below about 40 psi, and a booster pump may be required.
Step 3: Match the System to the Contaminant
Different contaminants call for different configurations. The table below summarizes the common drivers:
| Contaminant / Concern | RO Effectiveness | What to Look For |
|---|---|---|
| Nitrate | Good | Certification for nitrate reduction; performance declines with membrane age, so monitor regularly |
| Arsenic | Good for arsenic V; poor for arsenic III | Pre-oxidation to convert arsenic III to arsenic V is often required on well water; test for speciation |
| Fluoride | Good | Standard RO; certification for fluoride reduction |
| Lead | Very good | Point-of-use at the kitchen tap; certification for lead reduction |
| PFAS (PFOA/PFOS) | Very good | Certification specifically claiming PFOA/PFOS reduction; replace membrane on schedule |
| High TDS / salinity | Very good | Adequate feed pressure; expect lower recovery at high TDS |
| Hardness | Rejects well, but scales membrane | Pre-softening above moderate hardness to protect membrane life |
| Iron / manganese | Fouls membrane | Dedicated iron/manganese pretreatment upstream |
| Bacteria | Not a certified barrier | Add UV disinfection; do not rely on the membrane |
| Chloramine | Damages membrane | Catalytic carbon prefilter |
Certification matters more than stage count. Look for NSF/ANSI 58 certification for reverse osmosis systems, and check that the specific contaminants you are concerned about are listed on the certification. A system certified for TDS reduction is not automatically certified for arsenic or PFAS.
Step 4: Choose the Configuration
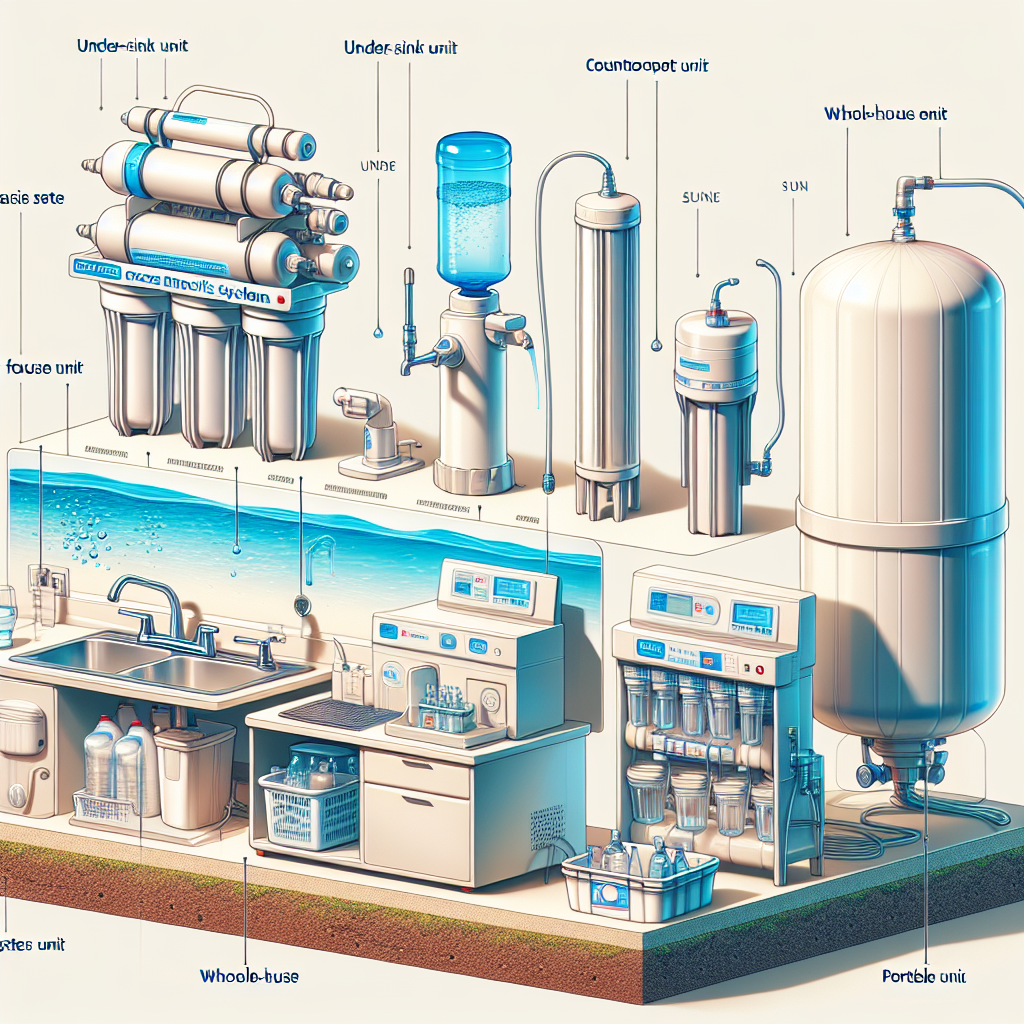
Under-Sink Point-of-Use Systems
The right answer for the large majority of households. These treat water at the kitchen tap for drinking and cooking, which is where contaminant exposure matters most. Model-by-model comparison of the category is covered in our guide to the best reverse osmosis system options for household use.
Countertop Units
Suitable for renters or where under-sink installation is impractical. They connect to the faucet or operate from a refillable reservoir and require no permanent plumbing, at the cost of smaller capacity and counter space.
Whole-House Systems
Rarely the right answer for general water quality concerns. Whole-house RO requires atmospheric storage, a repressurization pump, extensive pretreatment, and post-treatment to correct the corrosivity of RO permeate, and it sends a substantial volume to drain. It is justified mainly by brackish or high-TDS supplies, or by contaminants that must be removed from bathing water as well as drinking water. The specific requirements are set out in our guide to the best reverse osmosis water system for whole-house applications.
Portable and Travel Units
RO requires sustained pressure to work, so genuinely portable RO is limited to specialized hand-pump or powered desalination units used in marine and emergency settings. For most travel and camping, other filtration methods are more practical.
Step 5: Evaluate Specific Models
Once the configuration and required certifications are established, individual models can be compared on their merits. Several widely available under-sink systems illustrate the range:
- iSpring RCC7AK — a six-stage under-sink system with a remineralization stage that adds calcium and magnesium back after the membrane, addressing the flat taste some users notice in RO water.
- APEC ROES-PH75 — a multi-stage system with a pH-raising remineralization stage, suited to households wanting higher output.
- Home Master systems — distinguished by a modular filter design and, on some models, a permeate pump that improves efficiency and reduces water sent to drain.
Specifications and model availability change frequently. Confirm current certification listings directly with the manufacturer or certifying body before purchase, rather than relying on retailer descriptions.
When comparing, weight these factors ahead of stage count or marketing claims:
- Certification for your specific contaminants
- Annual filter and membrane cost, which over five years usually exceeds purchase price
- Recovery ratio — how much water goes to drain per gallon produced
- Pretreatment compatibility with your water, particularly for chloramine
Installation and Maintenance
Installation
- Confirm feed pressure before installation; add a booster pump if it is below about 40 psi.
- Shut off the cold water supply and connect the feed valve to the cold line.
- Install the dedicated faucet on the sink or countertop.
- Connect the drain line with an air gap where required by local plumbing code.
- Connect tubing following the manufacturer’s color coding, and check all connections for leaks under pressure.
- Flush the system according to the manufacturer’s instructions, typically discarding the first tanks of product water to clear carbon fines and membrane preservative.
Verifying Performance
A handheld TDS meter comparing feed and product water provides a simple ongoing check. A healthy membrane typically rejects the large majority of dissolved solids; when rejection falls noticeably, the membrane is due for replacement. For health-related contaminants such as nitrate, arsenic, or PFAS, periodic laboratory testing of product water is the only reliable confirmation that the system is still performing.
Troubleshooting Common Issues
- Leaks at connections: ensure fittings are fully seated; push-fit connections leak if tubing is not cut square and inserted to full depth.
- Low or no flow: check feed valve, tank pressure, and prefilter condition; low feed pressure is the most common cause.
- Rising TDS in product water: usually membrane wear or chlorine damage from exhausted carbon prefilters.
Pro Tip: Replace carbon prefilters on schedule even if water still tastes fine. Exhausted carbon allows chlorine through to the membrane, and membrane damage is far more expensive than a prefilter.
Conclusion
The best reverse osmosis system for any household is the one matched to that household’s water. Testing first, identifying the source-specific issues — disinfectant type on municipal supplies, hardness, iron, bacteria, and pressure on wells — and confirming certification for the contaminants that actually matter will narrow the field more reliably than any product ranking.
For most homes, the outcome is an under-sink point-of-use system with the right pretreatment and verified certification, maintained on schedule and checked periodically. Whole-house RO, portable RO, and systems chosen on stage count alone are, for most people, solutions to problems they do not have.